
This topic covers making a simple deployment flow from the CircleCI config.yml file. Assuming you already have your CircleCI and Git connected for your SFDX project.
Create a config.yml file in .circleci at the root level.
version: 2.1
executors:
sfdx:
docker:
- image: circleci/node:latest
jobs:
deploy:
executor: sfdx
steps:
- checkout
- run:
name: SFDX
command: |
sudo npm install sfdx-cli --global
- run:
name: Authenticate
command: |
sfdx force:auth:sfdxurl:store -f ./login.txt -s
- run:
name: Deploy to Sandbox
command: |
sfdx force:source:deploy -u $SFDC_USERNAME -p ./force-app/main/default
workflows:
version: 2
build-deploy:
jobs:
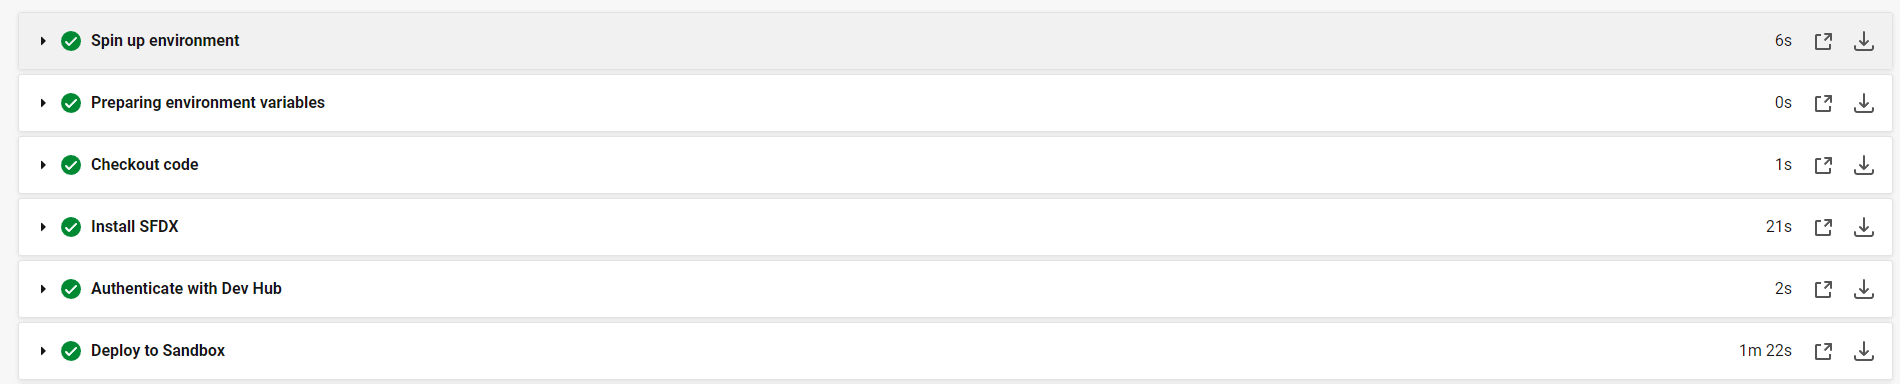
- deployThe procedure outlined above is relatively straightforward. It comprises three main steps:
- Install Salesforce DX (SFDX) to Docker.
- Authorize the target ORG (organization).
- Deploy the source.
To begin, authorization of the target ORG requires the creation of a Connected App, configured with the ‘api’, ‘refresh_token’, and ‘offline_access’ scopes. Once you have successfully set up your Connected App, you will obtain a pair consisting of a client ID and a secret.
Next, you will need to create a file named ‘login.txt’. Place this file in your root directory. This file should contain the following formatted string:
force://<clientId>:<ClientSecret>:<RefreshToken>@<ORG DOMAIN Without HTTPS>The refresh token can be retrieved following the instructions available in this article:
The next step involves deploying the source. In this context, $SFDC_USERNAME is an environment variable in a CircleCI project. You can replace it with your own login details.
Upon committing the changes to your branch, CircleCI should execute your build and tests automatically.

Thank You, very helpful for someone who is very illiterate with technology.