I have been moving to another apartment recently; I found my old RaspberryPI, which I used to run my little web service, buried in my son’s toy case.
Since one of my ex-subordinate asked how to set up a CI/CD with Jenkins, I am writing a tutorial on how to set up a basic CI/CD using Jenkins, Git, SFDX, and Ant.
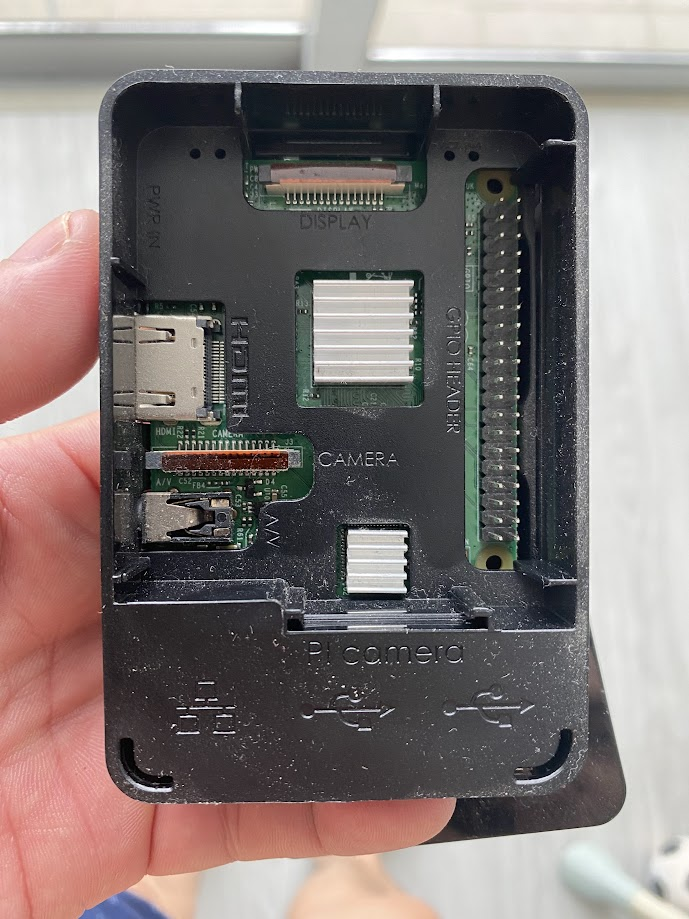
First, we need a keeper, and General Grievous volunteered to keep the PI.

How to install Jenkins in PI?
To install Jenkins into PI, just follow the tutorial. https://pimylifeup.com/jenkins-raspberry-pi/
You might get a timeout error at the end of the process: “Job for Jenkins.service failed because a timeout was exceeded.”

This happens because the processing power of PI can’t compare to PC. You just need to increase the timeout of the Start Service. Enter the command below and edit TimeoutStartSec to infinity.
sudo systemctl edit --full jenkins.service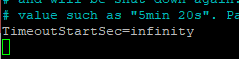
sudo systemctl start jenkinsStart the Jenkins service and continue with the tutorial.
CI/CD Pipeline
We will set up a simple one like the diagram below:

Let’s create our Jenkin Pipeline:
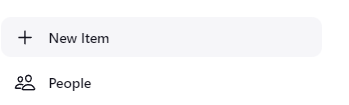
Click on New Item and choose the Pipeline option; You can name anything for your PipeLine.

Check out git:
We need to authorize GIT by adding a private key as a credential:
Access to https://github.com/settings/keys and click on New SSH Key; follow the instruction on how to generate an SSH key: https://docs.github.com/en/authentication/connecting-to-github-with-ssh/generating-a-new-ssh-key-and-adding-it-to-the-ssh-agent; then you can add the generated key to GitHub: https://docs.github.com/en/authentication/connecting-to-github-with-ssh/adding-a-new-ssh-key-to-your-github-account
Once you have a pair of public/private keys, you must create a credential to use in this Check-Out Git Step.
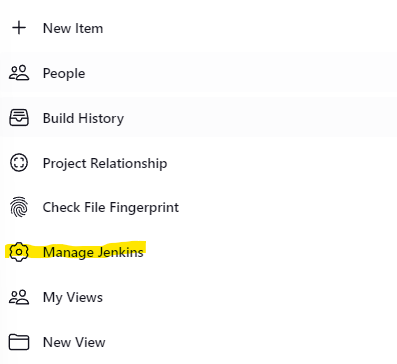
Access to Manage Jenkins :
Click on Manage Credentials:
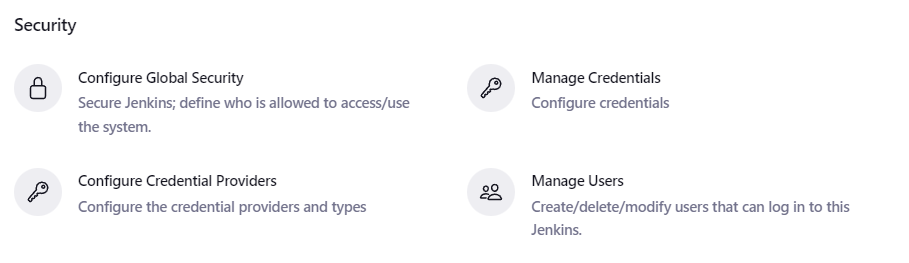
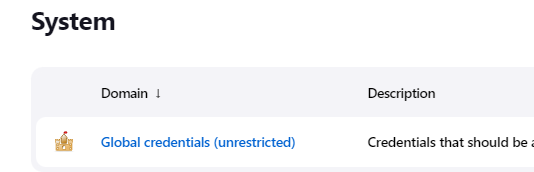
Click on Jenkins Scope Global and select Global credentials:

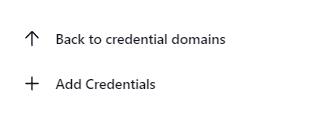
Add new Credentials
Select Kind SSH Username with the private key. You now just need to fill in all the information. The important information will be ID, Private Key, and Passphrase (If you create an SSH key with one.). The Private Key will be the one without .pub and in format — Begin. Just copy the whole thing into Private Key then save it.


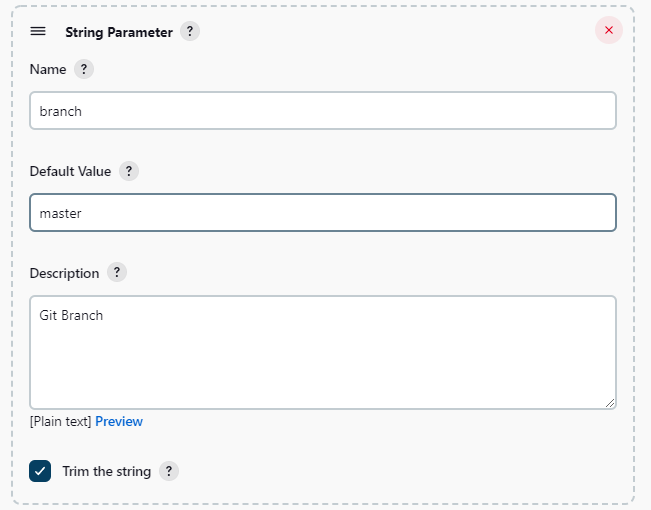
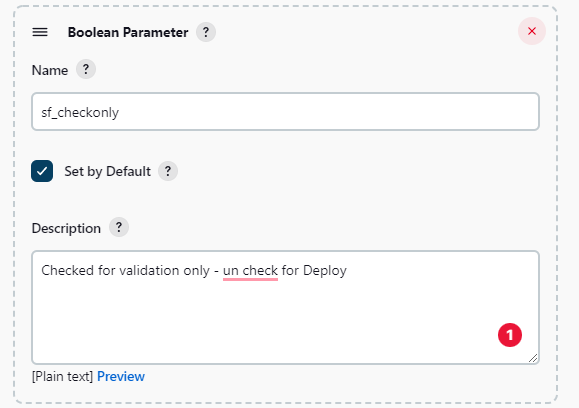
Come back to our Pipeline, we will need to create some parameters; The parameters will be the URL of our repo and the branch of the repo.

Scroll down to Pipeline and Enter the script below:
def credential is the ID of the credential we created previously.
branch and gitURL are the parameters.
node {
    def credential = 'jenkin_cicd_deployment'
    def branchName = '*/'+branch
    stage('Check out Git') { // for display purposes
        checkout([$class: 'GitSCM', branches: [[name: branchName]], doGenerateSubmoduleConfigurations: false, extensions: [[$class: 'CleanBeforeCheckout']], submoduleCfg: [], userRemoteConfigs: [[credentialsId: credential, url: gitURL]]])
    }
}
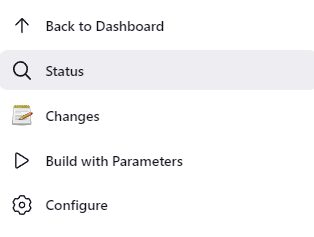
Save it then click on Build with Parameters:
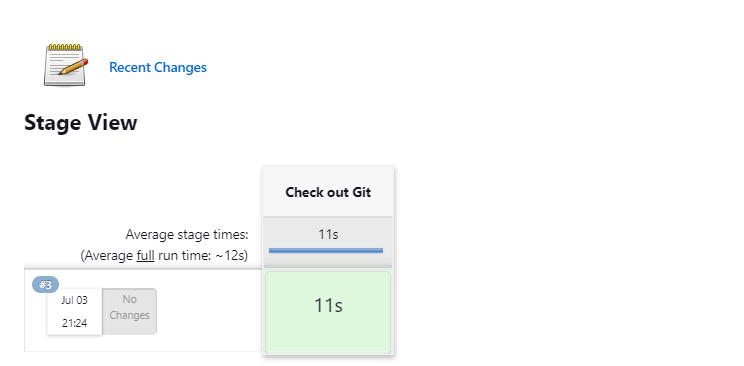
Now you input gitURL and branch in; click build. If you see success, then we will proceed to the next step.
Convert SFDX Project to Metadata
You will need to install Salesforce CLI; you can follow the instruction here: https://developer.salesforce.com/docs/atlas.en-us.222.0.sfdx_setup.meta/sfdx_setup/sfdx_setup_install_cli.htm#sfdx_setup_install_cli_linux
For Linux / Raspberry PI 32 bit I suggest using npm install (then you will need to install node.js).
Make sfdx command a global environment by adding a path for the command.
NOTE: you may encounter a permission error when sfdx trying to create a directory. This may only occur in Linux/Mac. You will need to grant access to mdapi folder for everyone.
At this stage, you will need to add another stage to your pipeline:
stage ('Convert SFDX Project to Metadata') {
        def mdapi = "<your mdapi directory>" + env.JOB_NAME + "/src"
        sh('if [-d "'+mdapi+'"]; then rm -Rf '+ mdapi +';fi')
        def result = '';
        result = sh(returnStdout: true, script: "sfdx " + "force:source:convert --outputdir " + mdapi)
        println result
}- env is environment variables: https://wiki.jenkins.io/display/JENKINS/Building+a+software+project#Buildingasoftwareproject-belowJenkinsSetEnvironmentVariables
- sh is bash command of unit, you can use bat ex : bat(“if exist ” + mdapi + ” del /s /q /f ” + mdapi + ” > nul”) for windows;
- using another sh to call sfdx convert source to metadata.
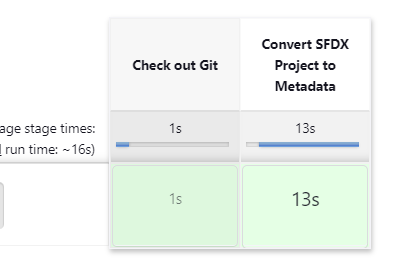
Now we have:
node {
    def credential = 'jenkin_cicd_deployment'
    def branchName = '*/'+branch
    stage('Check out Git') { // for display purposes
        checkout([$class: 'GitSCM', branches: [[name: branchName]], doGenerateSubmoduleConfigurations: false, extensions: [[$class: 'CleanBeforeCheckout']], submoduleCfg: [], userRemoteConfigs: [[credentialsId: credential, url: gitURL]]])
    }

    stage ('Convert SFDX Project to Metadata') {
        def mdapi = "<your mdapi directory>" + env.JOB_NAME + "/src"
        sh('if [-d "'+mdapi+'"]; then rm -Rf '+ mdapi +';fi')
        def result = '';
        result = sh(returnStdout: true, script: "sfdx " + "force:source:convert --outputdir " + mdapi)
        println result
    }
}
Deploy to Target Org
You will need to install Apache Ant at this point: https://ant.apache.org/srcdownload.cgi
For Raspberry PI you only need to use the command below:
sudo apt update
sudo apt install ant
To verify the Ant:
ant -version
Once, you have ant installed, you also need to download Salesforce Ant https://gs0.salesforce.com/dwnld/SfdcAnt/salesforce_ant_54.0.zip
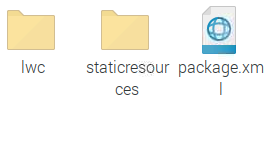
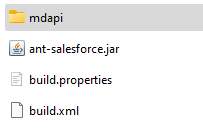
Unzip and place the ant-salesforce and build the same folder as mdapi:
<project name="Sample usage of Salesforce Ant tasks" default="test" basedir="." xmlns:sf="antlib:com.salesforce">

    <property file="build.properties"/>
    <property environment="env"/>

    <!-- Setting default value for username, password and session id properties to empty string
         so unset values are treated as empty. Without this, ant expressions such as ${sf.username}
         will be treated literally.
    -->
    <condition property="sf.username" value=""> <not> <isset property="sf.username"/> </not> </condition>
    <condition property="sf.password" value=""> <not> <isset property="sf.password"/> </not> </condition>
    <condition property="sf.sessionId" value=""> <not> <isset property="sf.sessionId"/> </not> </condition>

    <taskdef resource="com/salesforce/antlib.xml" uri="antlib:com.salesforce">
        <classpath>
            <pathelement location="ant-salesforce.jar" />
        </classpath>
    </taskdef>

    <!-- Shows deploying code & running tests for code in directory -->
    <target name="deployCode">
      <!-- Upload the contents of the "codepkg" directory, running the tests for just 1 class -->
      <sf:deploy username="${env.sf_username}" password="${env.sf_password}" sessionId="${sf.sessionId}" serverurl="${env.sf_url}" maxPoll="${sf.maxPoll}" deployRoot="mdapi/${env.JOB_NAME}/src" pollWaitMillis="40000" testLevel="${env.sf_testlevel}" rollbackOnError="true" checkOnly="${env.sf_checkonly}">
      </sf:deploy>
    </target>

</project>
You will need to create some of the environment variables in Pipeline; Jenkins will pass these variables to Salesforce Ant.
env.sf_username

env.sf_password
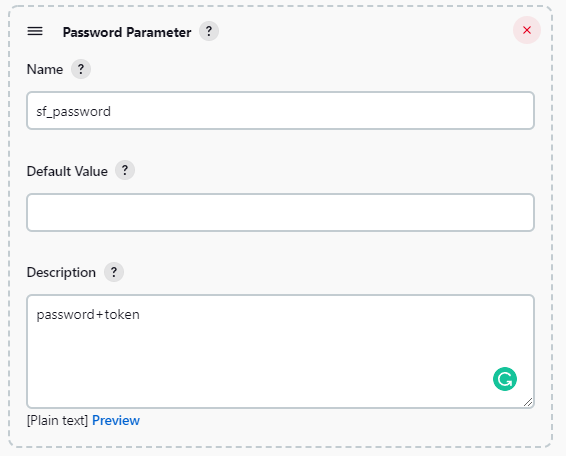
env.sf_url
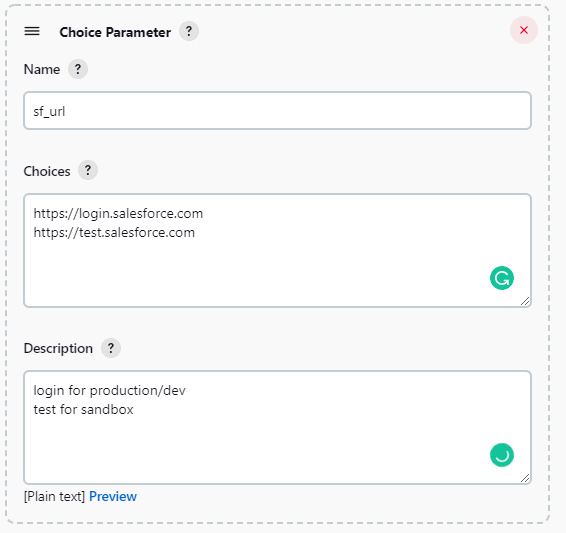
env.JOB_NAME – Jenkins Environment variables
env.sf_testlevel
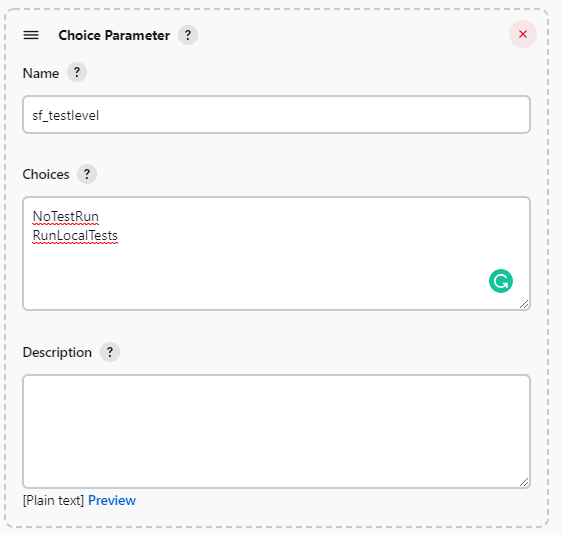
env.sf_checkonly
Add the last stage to the pipeline to call ant for deployment:
 stage ('Deploy to Target Org') {
       sh("ant -verbose -buildfile <your salesforce and directory> deployCode")
   }
Save then Build with Parameters; Jenkin will pass all necessary parameters to ant using build.xml. When you got all green; then congratulation, you are at the first step of the CI/CD process.

From here, you should be able to explore more options with Jenkins/ant to build a more complex CI/CD process.
Below is my file for this DEMO.
node {
    def credential = 'jenkin_cicd_deployment'
    def branchName = '*/'+branch
    stage('Check out Git') { // for display purposes
        checkout([$class: 'GitSCM', branches: [[name: branchName]], doGenerateSubmoduleConfigurations: false, extensions: [[$class: 'CleanBeforeCheckout']], submoduleCfg: [], userRemoteConfigs: [[credentialsId: credential, url: gitURL]]])
    }

    stage ('Convert SFDX Project to Metadata') {
        def mdapi = "/home/leeseifer/mdapi/" + env.JOB_NAME + "/src"
        sh('if [-d "'+mdapi+'"]; then rm -Rf '+ mdapi +';fi')
        def result = '';
        result = sh(returnStdout: true, script: "sfdx " + "force:source:convert --outputdir " + mdapi)
        println result
    }

    stage ('Deploy to Target Org') {
        sh("ant -verbose -buildfile /home/leeseifer deployCode")
    }
}
Here is my keeper: